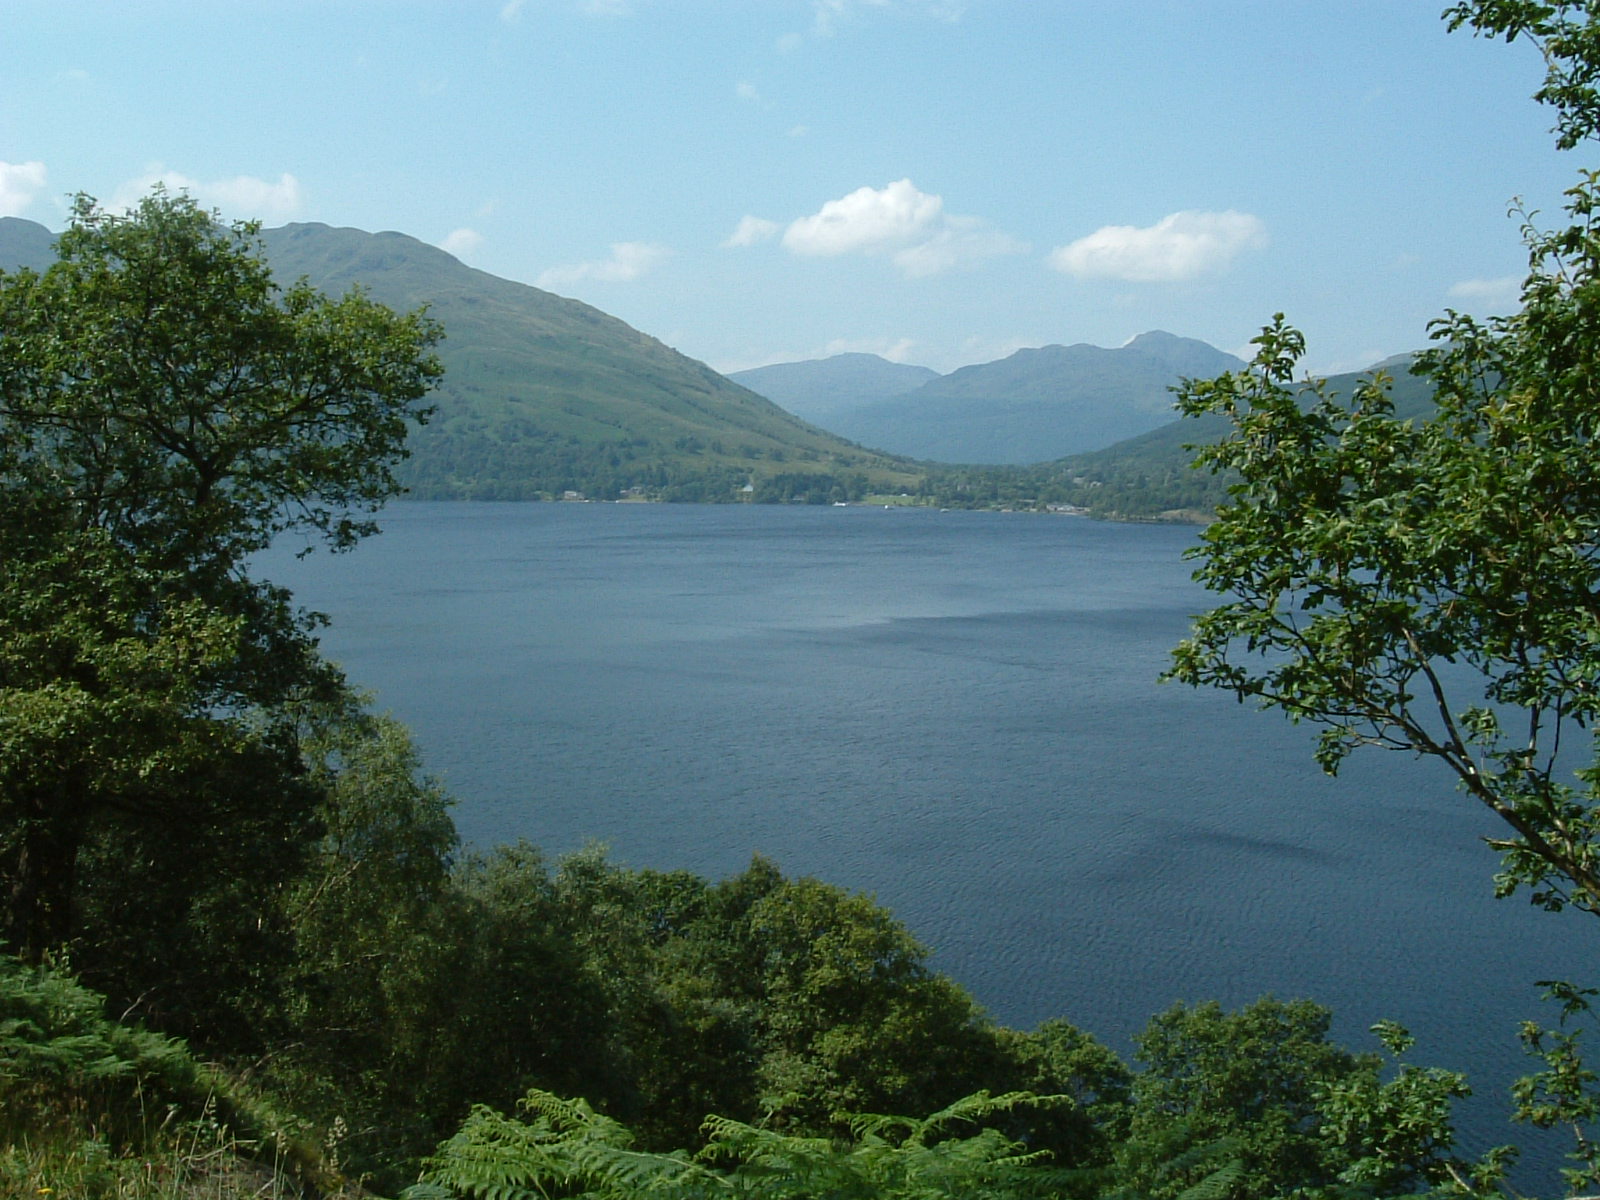
Return to photos from Standedge to Hebden BridgeNext | Previous Loch Lomond View source image (1600 x 1200 pixels, 0.3 MB)
